LED Matrix Panel
Updated: 6/28/2025 Words: 0 words Reading time: 0 minutes
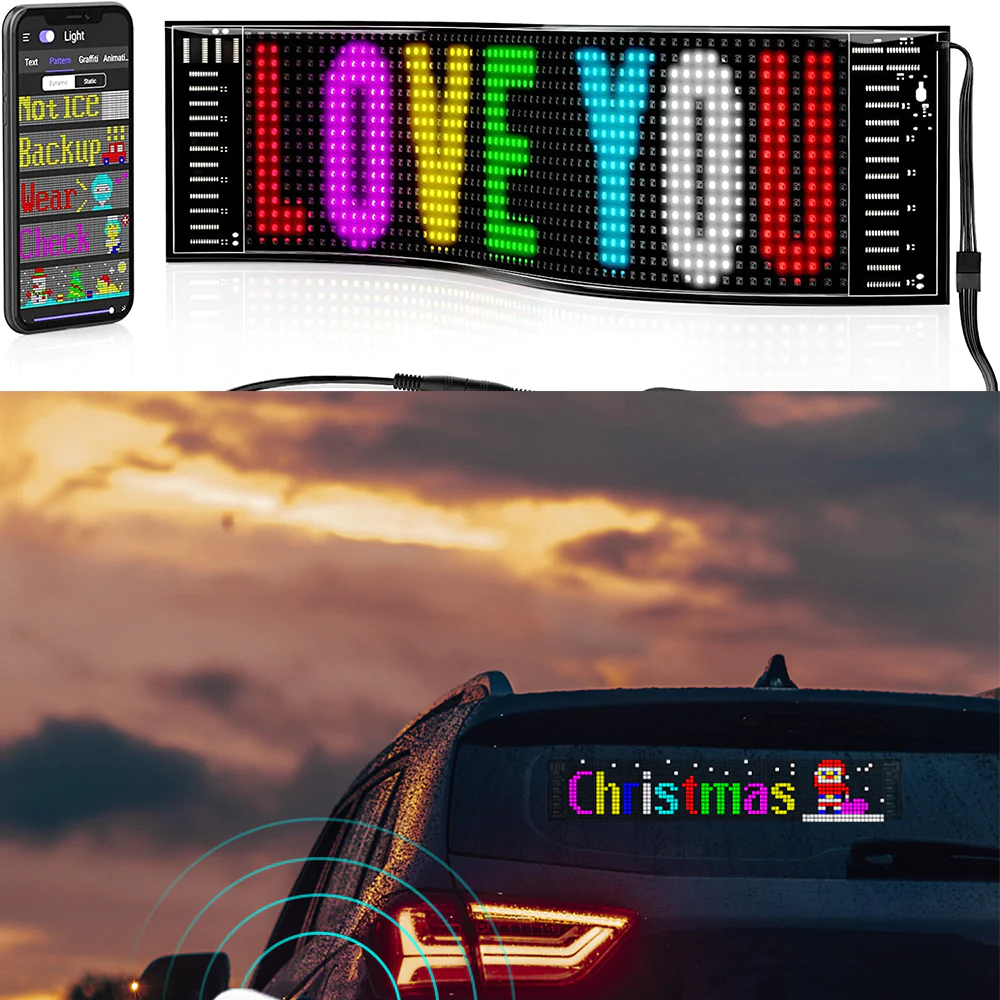
An LED matrix panel is like arranging several digital LED strips together to form an LED grid. Each LED is individually addressable and can be independently controlled for color and brightness. These matrices are used for various applications including signage, information displays, creative art installations, etc.
Preparation
Hardware
| Hardware | Description | Image |
|---|---|---|
| Creative Box Platform | 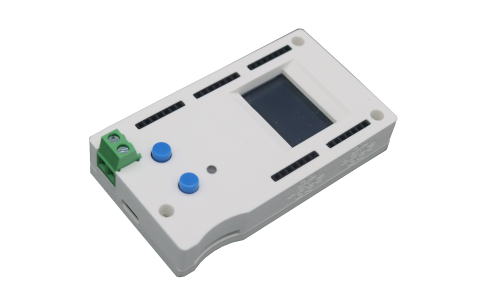 | |
| Power Signal Module | Included with Creative Box purchase |  |
| LED Matrix Panel | User purchase required | Taobao Link |
Software
| Software | Link | Description |
|---|---|---|
| LED Panel Controller | Link | Official frontend application, can be directly loaded and used through the console. |
Video Tutorial
LED Matrix Panel
Power Signal Module
Connection
| Connection |
|---|
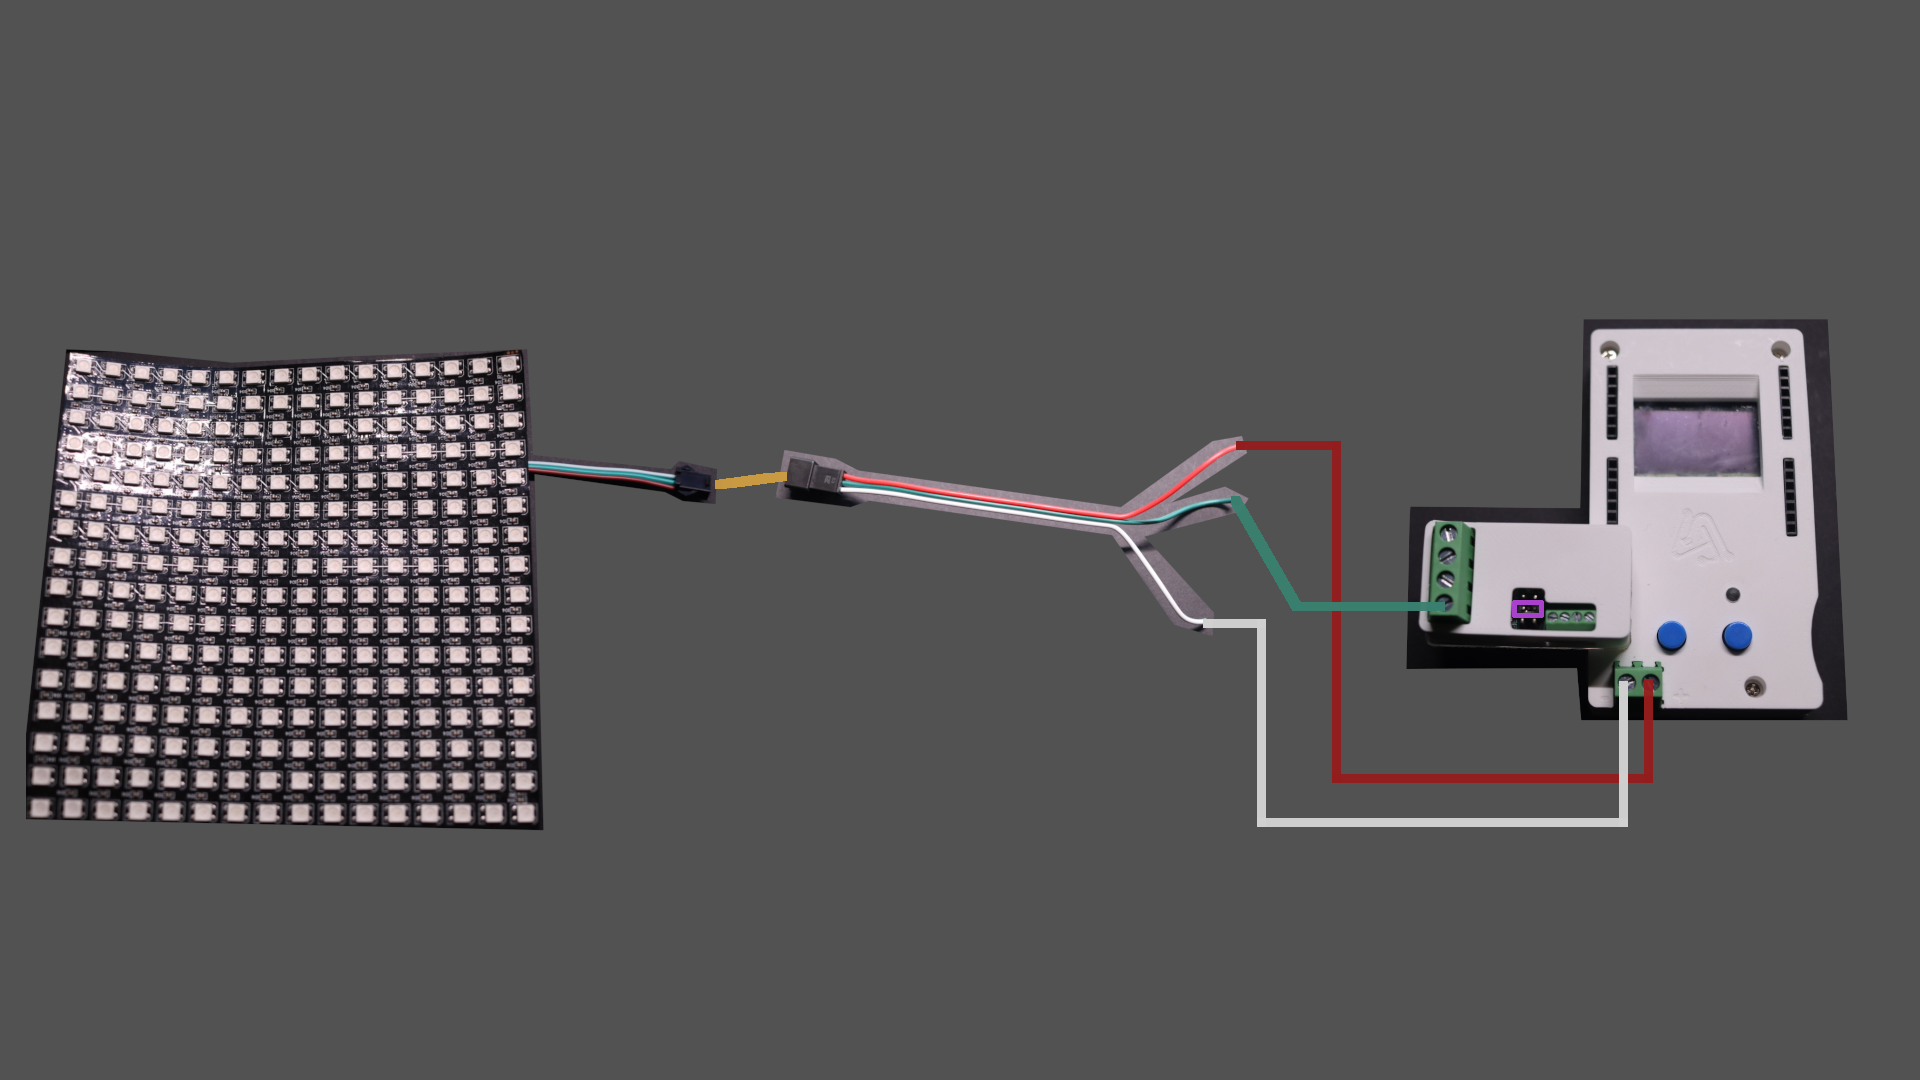
| Insert the power signal module into any pin header on the Creative Box, shown above using platform pins 8-11 |
| ▀ Connect the positive red wire of the connector to the positive terminal output of the platform |
| ▀ Connect the negative white wire of the connector to the negative terminal output of the platform |
| ▀ Connect the green signal wire of the connector to the signal output port of the power signal module. The signal port in the diagram corresponds to platform pin 8 |
| ▀ Set the jumper cap to the 5V output position |
| ▀ Connect the connector interface to the LED panel |
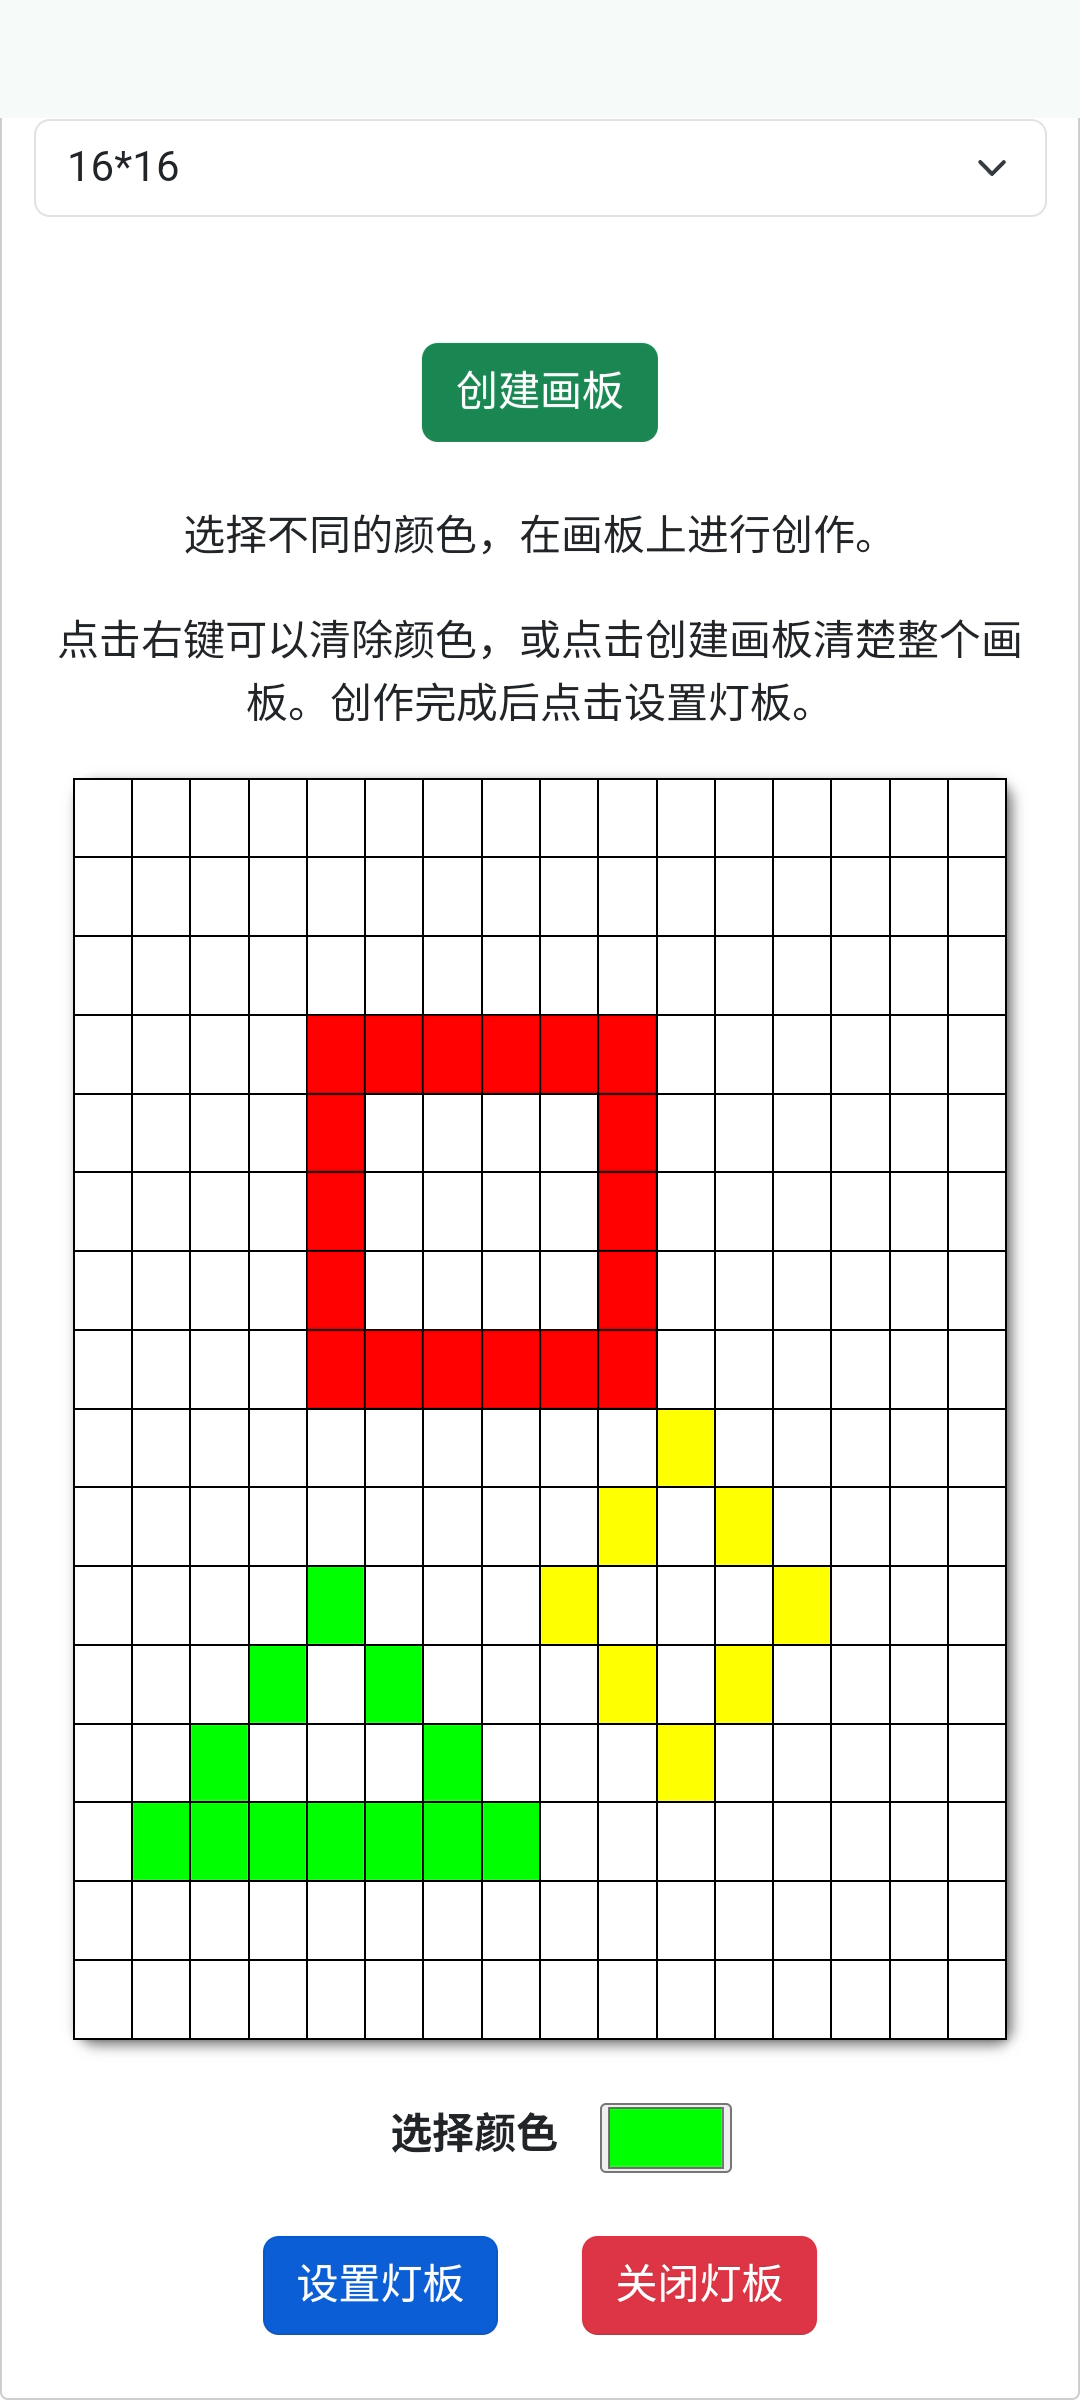
Usage
Open the Creative Box console and load the LED strip application from the lighting applications. Enter the application, select the pin number connected to the signal output on the Creative Box. Select the number of LEDs and lighting theme. Click the setup button to turn on the strip.
| Creative Box Console | Set Output Voltage | Load Application | Enter Application and Control |
|---|---|---|---|
 |  |  |  |
Principle
Reference Datasheet Downloads
| Datasheet Download | Link |
|---|---|
| WS2812 | Link |
| WS2811 | Link |
WS2812
If you want to understand the technical details of controlling addressable LEDs, please refer to the WS2812 section in the LED strip documentation.
Resolution
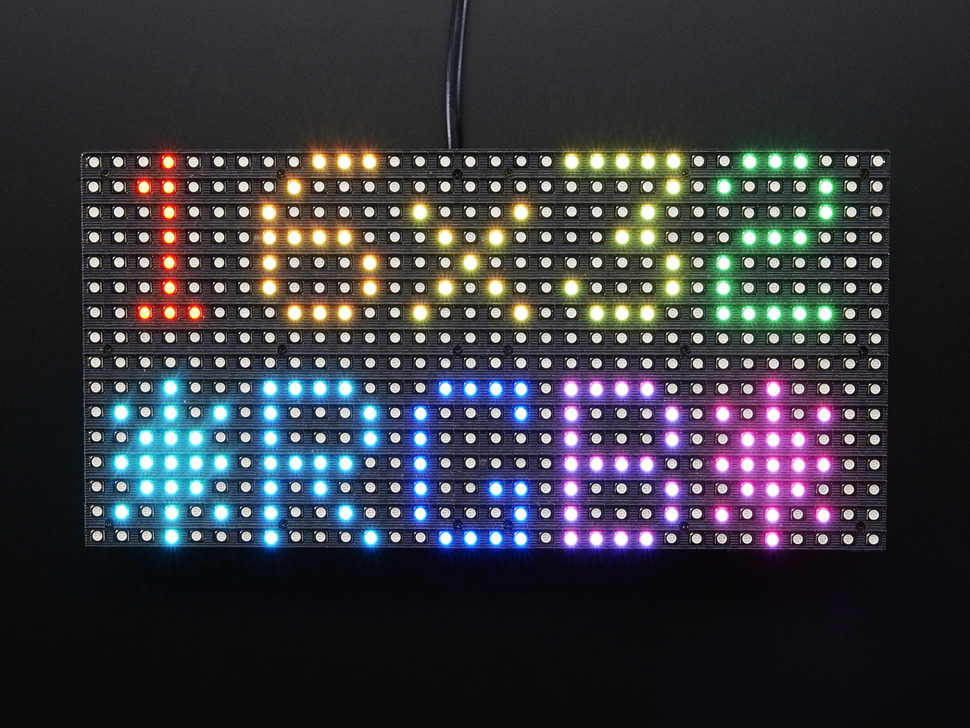
The resolution of the matrix is determined by the number of rows and columns of LEDs. For example, a 16x32 matrix has 16 rows and 32 columns, totaling 512 independent RGB LEDs. So its resolution is 16x32.
Resolution determines the amount of information the matrix can display. For example, if using a 7x5 character set, each character is 7 pixels high and 5 pixels wide. Then a 16x32 matrix can display at most two rows of characters, with up to 6 characters per row. Considering that gaps are needed between characters for separation, in the diagram below, this 16x32 matrix displays a total of two rows with 10 characters. If you want larger fonts, such as using a 10x15 character set, then only 2 characters can be displayed.
When a single matrix cannot display the required content, we can connect multiple matrix panels together to form a larger LED network, allowing for larger fonts or more information to be displayed.